Garage Door Weather Strip: The Essential Guide to Sealing Your Largest Opening
Your garage door is the largest moving part of your home, and its seals are its first line of defense. A worn or damaged garage door weather strip can let in cold drafts, rain, dust, leaves, and even pests, impacting your home’s energy efficiency, cleanliness, and comfort. This ultimate guide delves into the types, benefits, and installation of high-performance garage door seals, helping you create a sealed, protected, and more functional garage space.
The Critical Role of Garage Door Sealing
A properly sealed garage does more than just keep the space tidy.
-
Energy Efficiency: If your garage is attached or has living space above it, gaps allow conditioned air to escape, raising heating/cooling costs.
-
Home Protection: Seals prevent water intrusion that can damage stored items, vehicles, and the foundation. They block wind-blown debris and corrosive road salts.
-
Pest & Insect Control: Seals close off entry points for rodents, insects, and spiders seeking shelter.
-
Dust & Allergen Reduction: A tight seal significantly reduces the amount of dust, pollen, and pollutants entering the garage and potentially the home.
-
Noise Reduction: Quality seals dampen street noise and the sound of the garage door operation itself.
Anatomy of a Garage Door Seal System
A complete seal involves three components, each with a specific purpose.
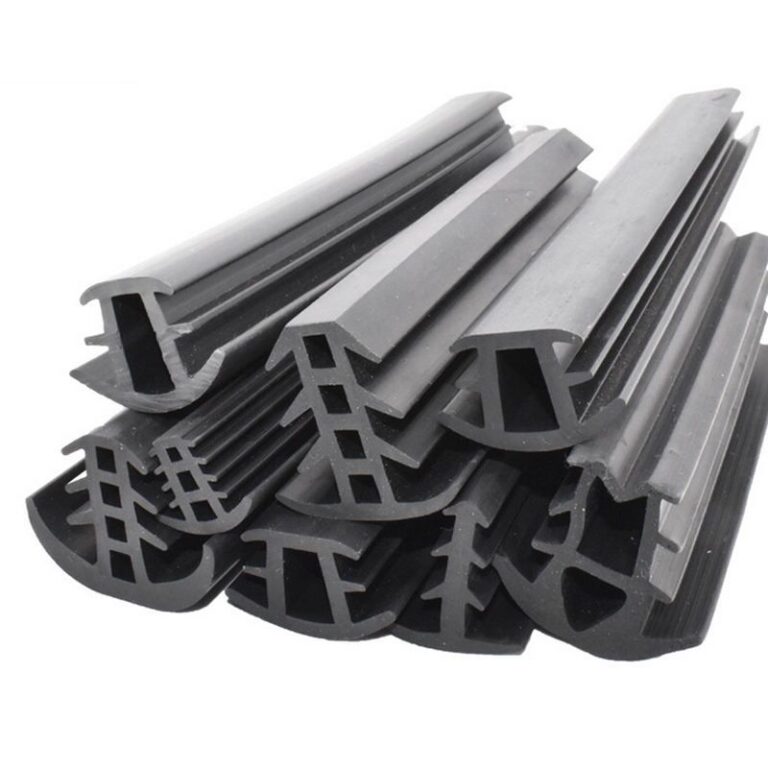
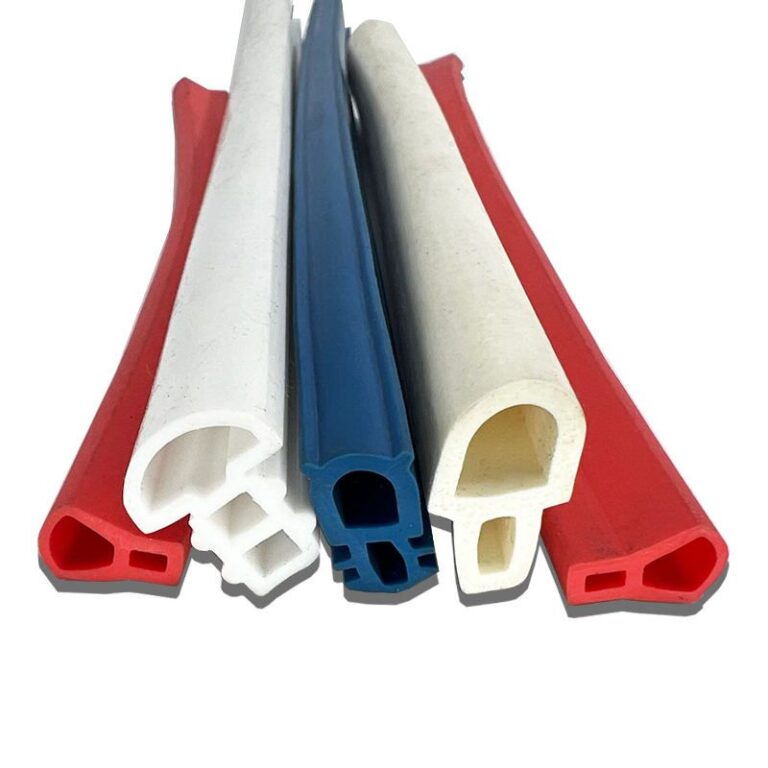
1. Top and Side Seals (U-Channel or J-Seal)
These are attached to the door frame (not the door). As the door closes, it presses against the flexible bulb or flange of these seals.
-
Material: Heavy-duty EPDM rubber is the industry standard for its weather and UV resistance.
-
Profile: Typically a U-channel that slides or nails onto the wooden frame, with a tubular or finned bulb for compression.
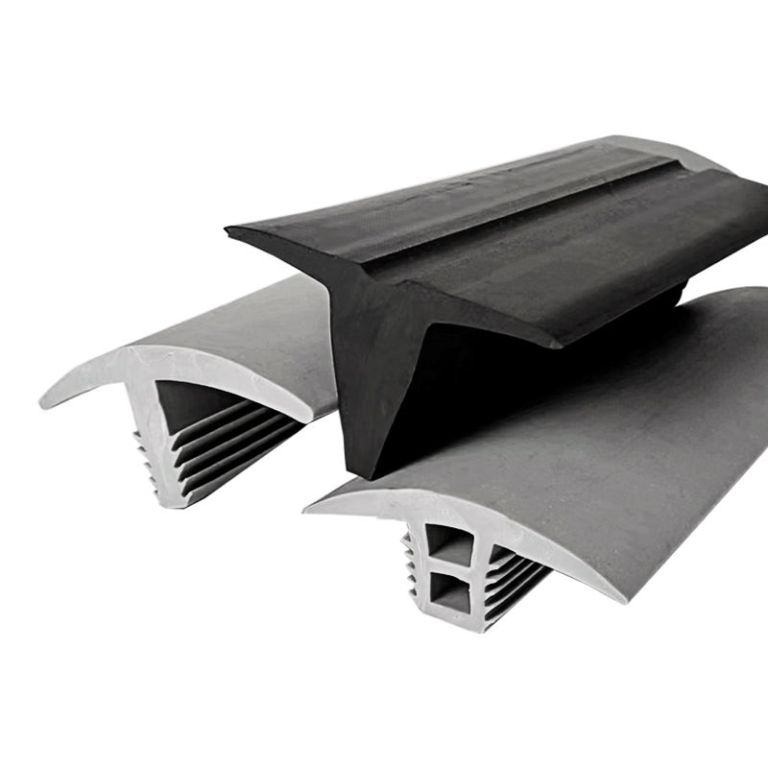
2. Bottom Seal (The Most Critical)
This is attached to the bottom edge of the garage door itself. It must seal against the often uneven garage floor.
-
Types:
-
Bulb Seals: A rubber bulb on an aluminum retainer. Good for moderately uneven floors.
-
Triple-Lip/Scraper Seals: Durable door seal rubber strips with multiple flexible fins. Excellent at sweeping debris and sealing uneven concrete.
-
Thermal Bottom Seals: Have an insulated vinyl or rubber bulb for superior energy blocking.
-
How to Choose the Best Garage Door Weather Strip
| Feature | Recommendation | Reason |
|---|---|---|
| Material | Black EPDM Rubber | Superior resilience against sun (ozone/UV), temperature extremes, and moisture. Avoid vinyl for primary seals. |
| Bottom Seal Type | Triple-Lip Scraper Seal | Offers the best combination of durability, sealing on uneven surfaces, and debris sweeping. |
| Retainer | Rust-Proof Aluminum or Galvanized Steel | The metal bracket holding the bottom seal must not corrode. |
| Size/Width | Match Existing Channels | Measure the width of the existing U-channel retainer (common: 3/4″, 1″, 1-1/2″) and door thickness. |
| Adhesive vs. Mechanical | Mechanical Fastening (Nails/Screws) | For longevity. Adhesive can fail in temperature cycles. U-channels are often friction-fit or nailed. |
Step-by-Step Replacement Guide
Safety First: Disconnect the garage door opener and manually close the door before starting.
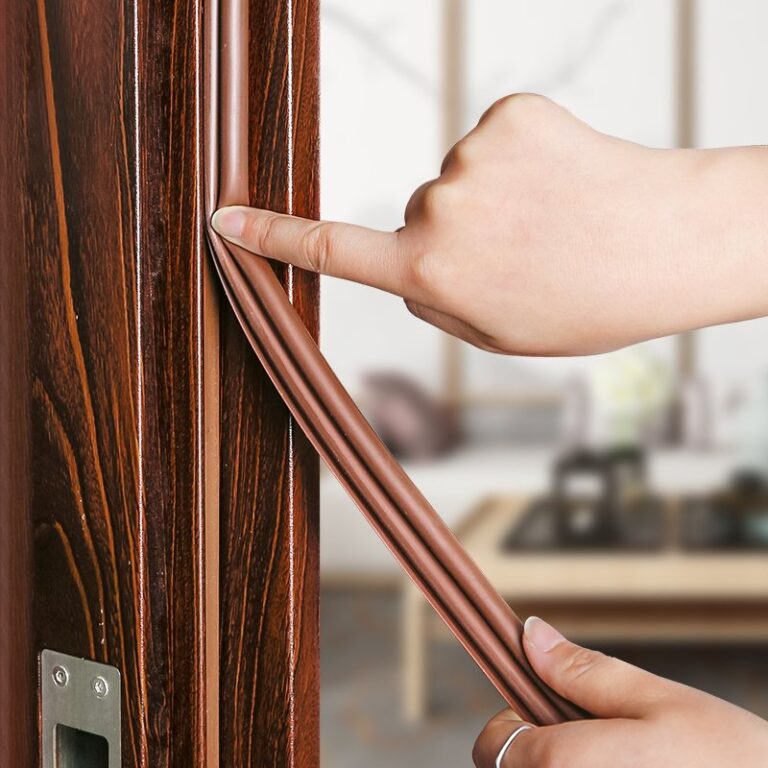
A. Replacing Top & Side Seals:
-
Remove Old Seal: Pull the old U-channel seal out of its track. It may be nailed or just pressed in.
-
Clean the Track: Remove all old nails, adhesive, and debris from the wooden frame track.
-
Cut New Seal: Measure each side (left, right, top) and cut the new EPDM door seal at 45-degree angles for clean corners.
-
Install: Starting at one top corner, press the new U-channel firmly onto the wooden frame. Work your way around. For nail-on types, use the provided nails sparingly.
B. Replacing the Bottom Seal:
-
Open Door & Secure: Prop the door fully open and lock it with vice grips on the track below the roller.
-
Remove Old Seal: Unscrew or pry out the retainer holding the old door seal rubber strip.
-
Prepare Surface: Clean the bottom door edge of any rust or old material.
-
Cut & Test Fit: Cut the new seal and retainer about 1/4 inch shorter than the door width to ensure a perfect fit within the end caps.
-
Attach: Slide the rubber into the retainer. Position the assembly against the door and screw it firmly into place from the inside of the garage door.
Common Problems and Pro Solutions
-
Seal is Hard or Brittle: Classic sign of UV degradation. Replace with EPDM rubber.
-
Light Visible Under Door: Your bottom seal is worn or the wrong size. Measure the gap and install a new, appropriately sized scraper seal.
-
Water Pooling at Sides: Likely an issue with the side weather strip. Ensure it’s not torn and makes full contact with the door surface. Check that the door’s alignment is correct.
-
Seal Freezes to Floor in Winter: Apply a thin layer of silicone spray on the bottom seal’s contact surface to prevent ice adhesion.
FAQ: Garage Door Seal Essentials
How often should garage door weather stripping be replaced?
With quality EPDM, expect 5-10 years of service. Inspect seals annually for cracks, tears, or permanent compression. Bottom seals may need replacement more frequently (every 3-5 years) due to abrasion from the floor.
Can I install weather stripping on an uneven garage floor?
Yes. For severely uneven floors, choose an extra-thick bulb seal or a malleable vinyl bulb seal designed to conform to contours. In extreme cases, consider installing a flexible rubber threshold on the floor for the door to seal against.
Will sealing my garage door really save energy?
Absolutely, especially if your garage is attached, insulated, or has ductwork running through it. A sealed garage acts as a buffer zone, reducing thermal transfer into your main living space. The U.S. Department of Energy lists weatherstripping all doors as a key energy-saving measure.
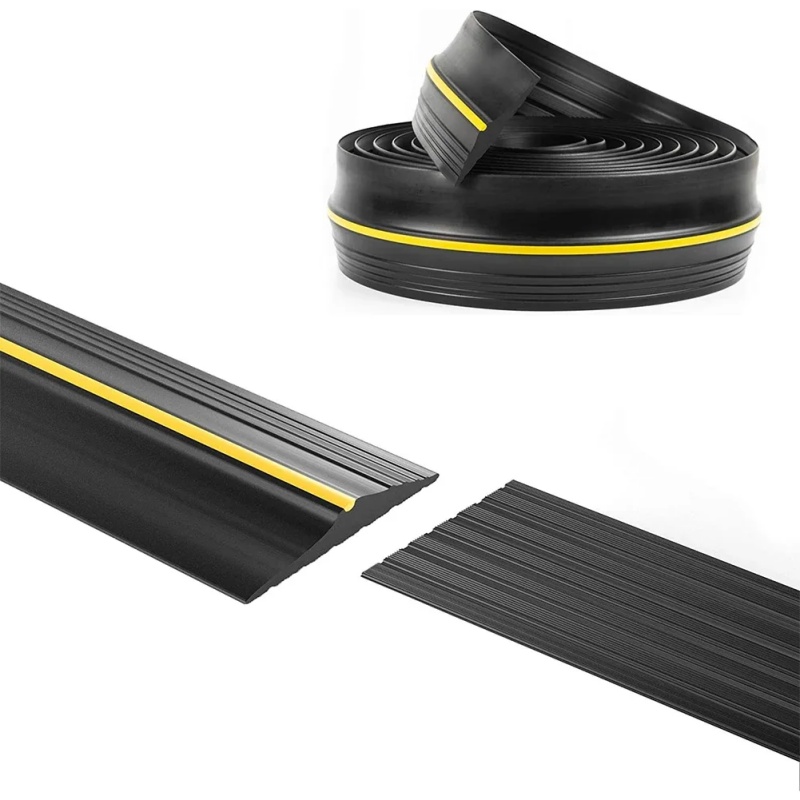
What’s the difference between a garage door “weather seal” and a “threshold seal”?
A weather seal attaches to the door or frame. A threshold seal is a raised rubber or aluminum strip that is fastened to the floor for the bottom of the door to close against, often used for very large gaps or commercial doors.
Conclusion: Seal It Right, Protect Your Home
Upgrading your garage door weather strip is one of the most cost-effective home maintenance projects you can undertake. By selecting durable EPDM rubber components, ensuring a proper fit, and securing them correctly, you invest in long-term protection for your belongings, enhanced home efficiency, and a cleaner, more comfortable garage. Take action today—your home (and your energy bill) will thank you.